Ice Dams Explained: How to Prevent and Remove Roof Ice Buildup Safely
Winter storms bring picturesque snowy landscapes, yet thick accumulations on residential roofs often hide a destructive seasonal hazard. When heavy snow blankets a house and daytime temperatures fluctuate around freezing, thick ridges of solid ice can form along the roof eaves.
Known as ice dams, these frozen barriers trap melting snow water on the roof deck, forcing moisture backward beneath shingles and into ceilings, walls, and insulation. Left unaddressed, ice buildup leads to stained drywall, rotted roof sheathing, soaked attic batts, and hazardous mold colonies. Understanding the thermal dynamics behind ice formation allows homeowners to eliminate root causes safely without damaging roofing materials.
1. The Thermal Mechanics Behind Roof Ice Formation

Ice dams do not form solely because outdoor temperatures drop below freezing; they result from uneven heat distribution across the roof surface.
How Escaping Attic Heat Melts Snowpack
Warm indoor air naturally rises toward the ceiling. When an attic lacks adequate air sealing or thick insulation, indoor heat escapes into the attic cavity and warms the underside of the roof sheathing. This warmth melts the bottom layer of accumulated snow even when outdoor air temperatures sit well below thirty-two degrees. Meltwater runs down the sloped roof deck beneath the insulating snow blanket until it reaches the unheated eaves overhanging the exterior walls.
Refreezing Along Cold Roof Eaves
Because the roof overhang extends past the heated living space, the eave decking remains at freezing outdoor temperatures. When warm meltwater hits this frigid overhang, it freezes rapidly into solid ice. Over days of repeated melting and freezing cycles, this ice ridge grows thicker, forming a dam that blocks subsequent meltwater from draining into the gutters. Trapped water pools behind the frozen ridge and seeps upward under overlapping roof shingles.
2. Long-Term Structural Prevention Inside the Attic
Permanently stopping ice buildup requires keeping the entire roof deck cold and uniform from the ridge peak down to the eaves.
Air Sealing Bypass Gaps on the Attic Floor
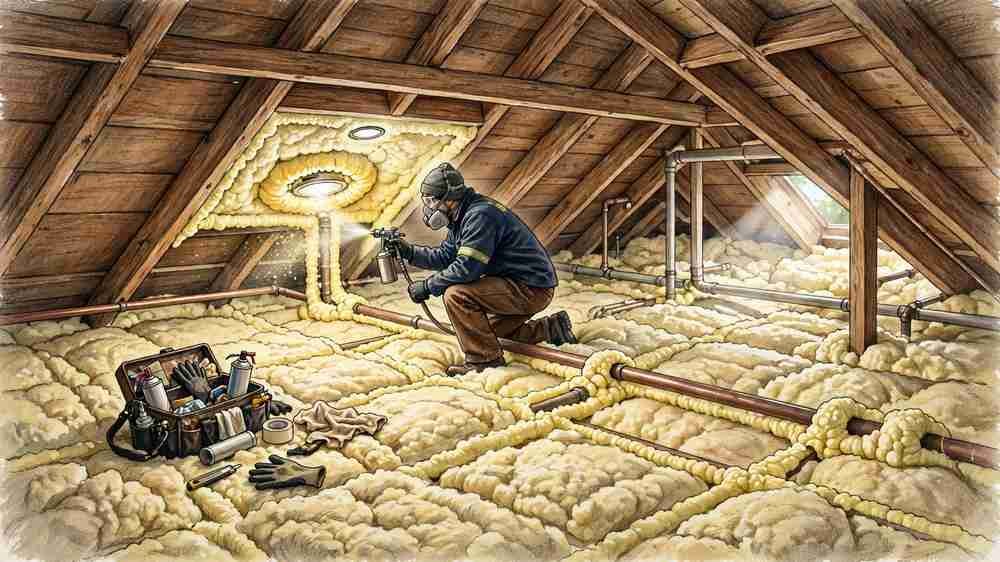
Before adding extra insulation, seal every opening where warm conditioned air leaks from living rooms into the attic. Use expanding foam or silicone caulk around recessed light canisters, plumbing vent stacks, electrical wire penetrations, attic access hatches, and chimney chases. Blocking warm air drafts prevents convective heat transfer into the upper roof cavity.
Upgrading Insulation Depth and Eave Baffles
Once air leaks are sealed, blow or lay additional fiberglass or cellulose insulation across the attic floor to meet regional thermal resistance standards, reducing energy waste and improving efficiency. Install rigid foam or plastic ventilation baffles between every rafter bay along the eaves. These baffles maintain an open air channel above the insulation so cold outdoor air enters cleanly without pushing insulation out of place.
Balancing Ridge and Soffit Airflow
A properly ventilated attic draws cold outside air through continuous perforated soffit vents and exhausts it through a continuous ridge vent at the peak. This constant passive airflow sweeps away any stray heat that reaches the attic, keeping the roof sheathing cold enough to prevent premature snowmelt.
3. Managing Eave Drainage and Mechanical Ice Prevention
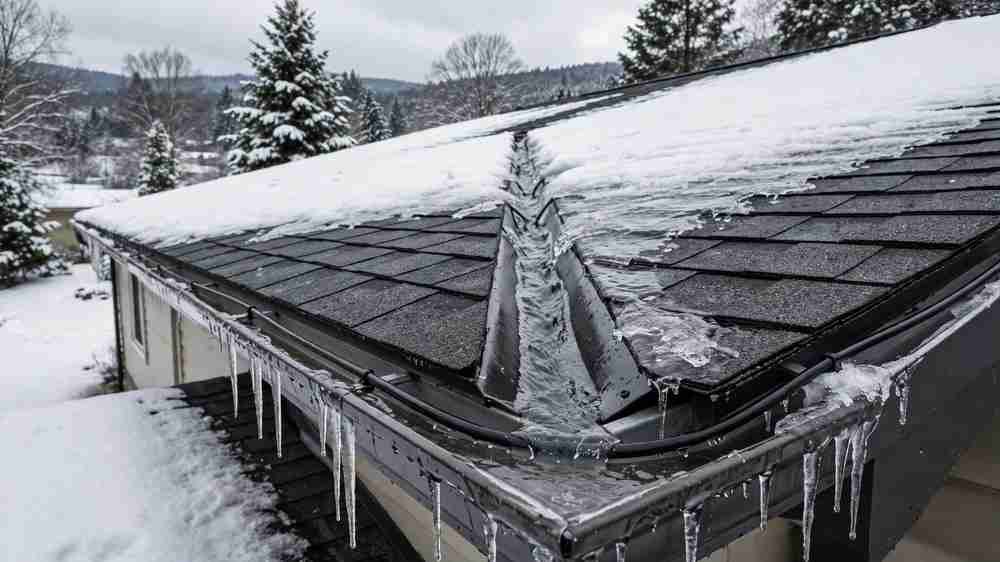
Certain complex roof architectures, such as deep valleys, north-facing slopes, and shaded dormers, remain prone to ice accumulation even with strong attic insulation.
Clearing Gutters and Downspouts Before Freezing Weather
Clogged rain gutters packed with autumn leaves and pine needles hold standing water that freezes solid during the first cold snap. Cleaning gutters thoroughly in late autumn ensures melting snow drains away freely rather than backing up over the fascia board.
Installing Heating Systems for Stubborn Roof Valleys
Homes situated in heavy mountain snow zones often encounter stubborn freeze-thaw cycles that challenge passive ventilation alone. Property owners seeking reliable icicle prevention in Utah frequently combine attic air sealing with regulated heating elements along vulnerable eaves and valleys to keep drainage channels open throughout prolonged winter storms. Keeping a continuous melt path allows water to exit safely through downspouts instead of pooling behind frozen ridges.
4. Safe Removal Techniques for Existing Ice Dams
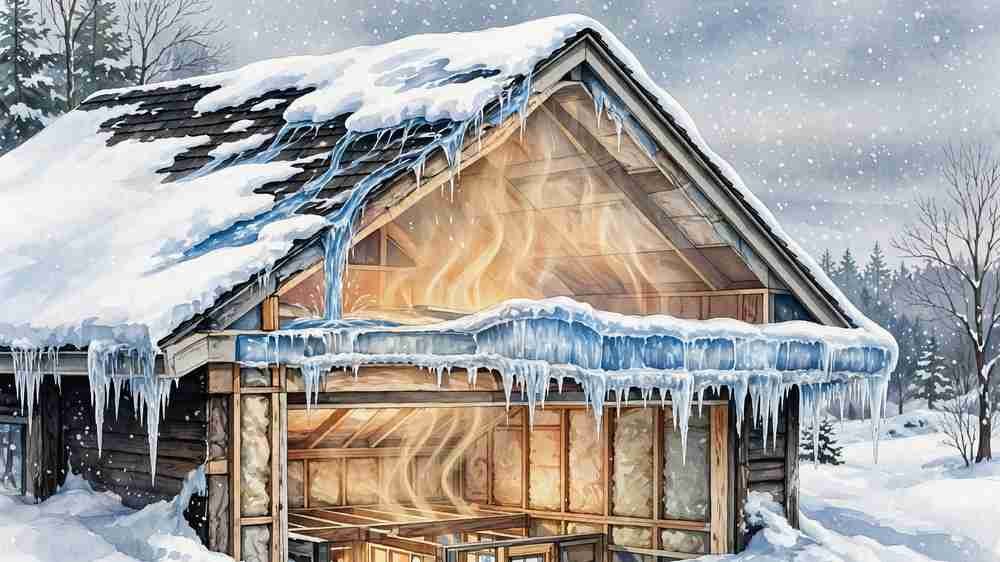
When an ice dam has already formed and water threatens interior ceilings, immediate action must be taken carefully to avoid ruining shingles.
Pulling Snow Back with a Long-Handled Roof Rake
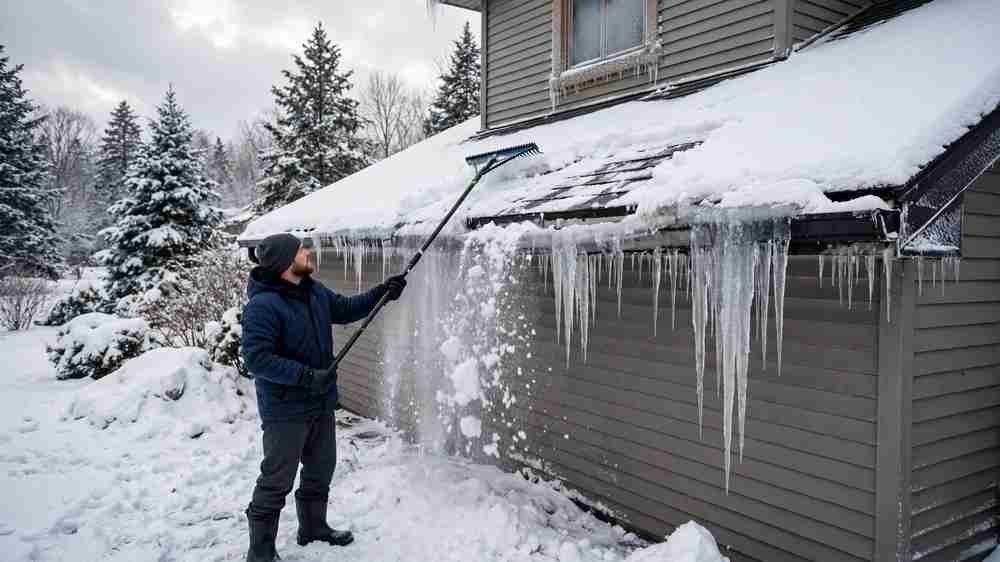
Standing safely on the ground, use a telescoping aluminum roof rake equipped with protective rollers to pull heavy snow off the lower three to four feet of the roof edge. Removing the snow blanket cuts off the water supply feeding the ice dam while protecting shingle granules from scraping damage.
Creating Melt Channels with Calcium Chloride Socks
Never attack roof ice with hammers, axes, chisels, or ice picks, as physical blows shatter brittle cold shingles and puncture waterproofing membranes. Instead, fill the leg of an old cotton sock or nylon stocking with calcium chloride ice melter, tie it closed, and lay it vertically across the ice dam perpendicular to the gutter.
Calcium chloride melts through the ice ridge slowly, carving a safe drainage channel for trapped water without corroding metal flashing or harming plants below.