
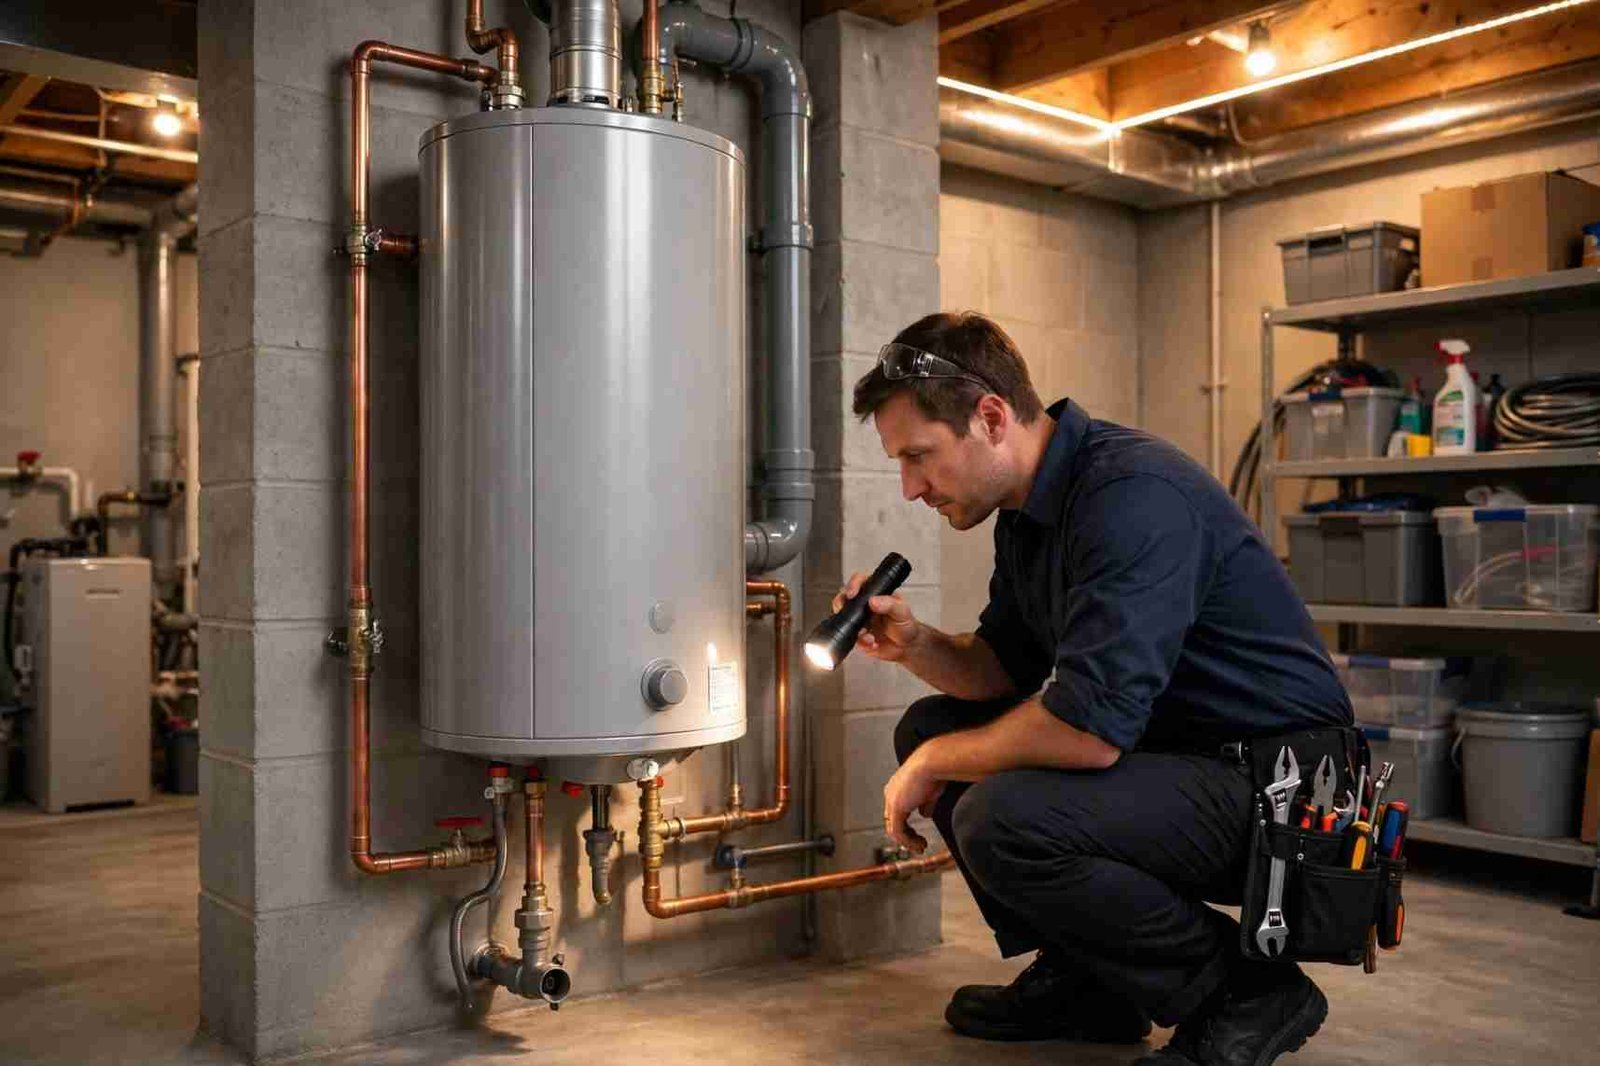
Water Heater Maintenance Guide: How to Flush, Inspect, and Extend Its Lifespan
A reliable supply of hot water is an absolute necessity for modern hygiene, culinary tasks, and overall domestic comfort. Water storage tanks quietly operate continuously behind the scenes, holding gallons of water at elevated temperatures so that it is instantly available at any fixture. Because these appliances are frequently relegated to basements, utility closets, or garages, they are often forgotten until the morning shower suddenly turns frigid. Neglecting the routine care of a water heating system drastically shortens its operating lifespan, leads to elevated utility bills, and elevates the risk of sudden catastrophic tank failure.
Understanding the internal anatomy of a water heater reveals why consistent preventative attention is so vital. Inside the tank, cold municipal water enters through a dip tube that directs it to the bottom, where heating elements or gas burners warm the supply. As water warms, dissolved minerals precipitate out of solution and settle on the floor of the tank. Over several months, this sediment accumulates into a thick layer that acts as an insulating barrier between the heat source and the water. This forces the unit to run longer, consumes excessive energy, and ultimately overheats the metal tank base until fractures develop.
Implementing a structured maintenance routine keeps your equipment running smoothly and reliably. Homeowners who actively monitor and maintain water heaters in Layton can prevent premature failure, reduce their monthly utility expenses, and guarantee consistent water temperatures across all seasons.
Step-by-Step Procedure for Flushing the Storage Tank
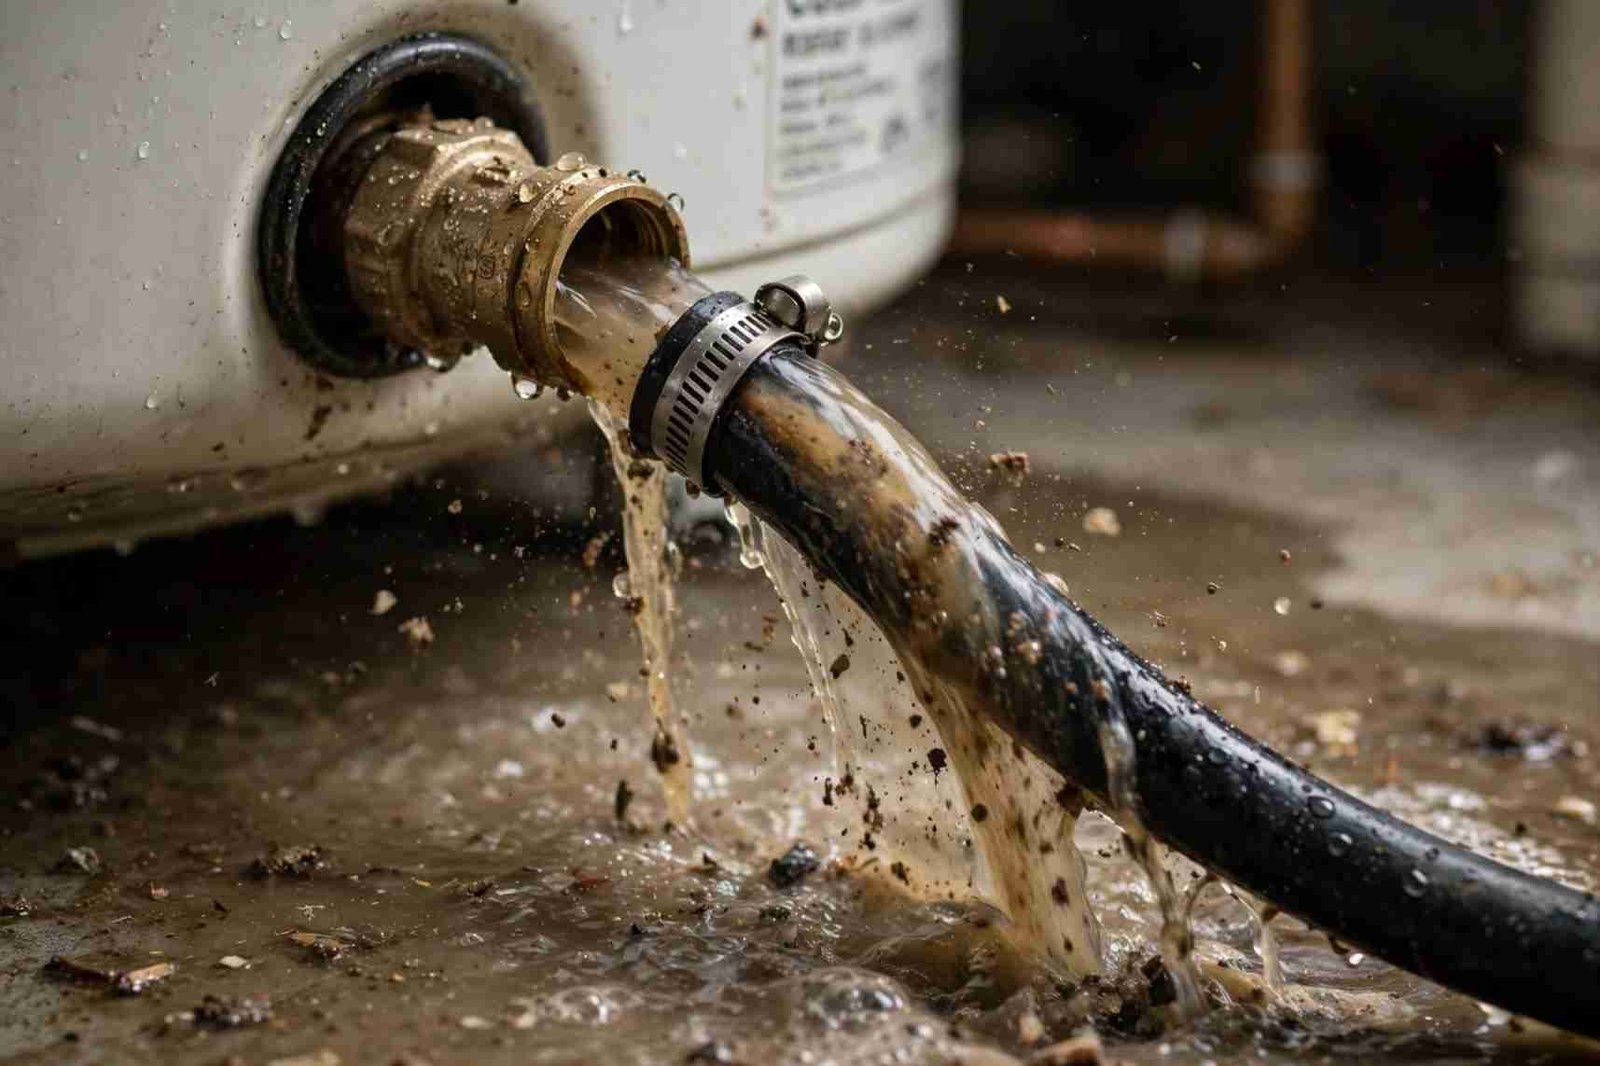
Flushing the tank is the single most critical task for preventing sediment accumulation and preserving mechanical efficiency. Sediment buildup creates a crackling or popping sound during heating cycles, which indicates that steam pockets are bubbling up through a dense layer of mineral mud. Performing a complete flush at least once each year removes these calcified solids before they harden into an impenetrable crust.
Preparing the Appliance for Drainage
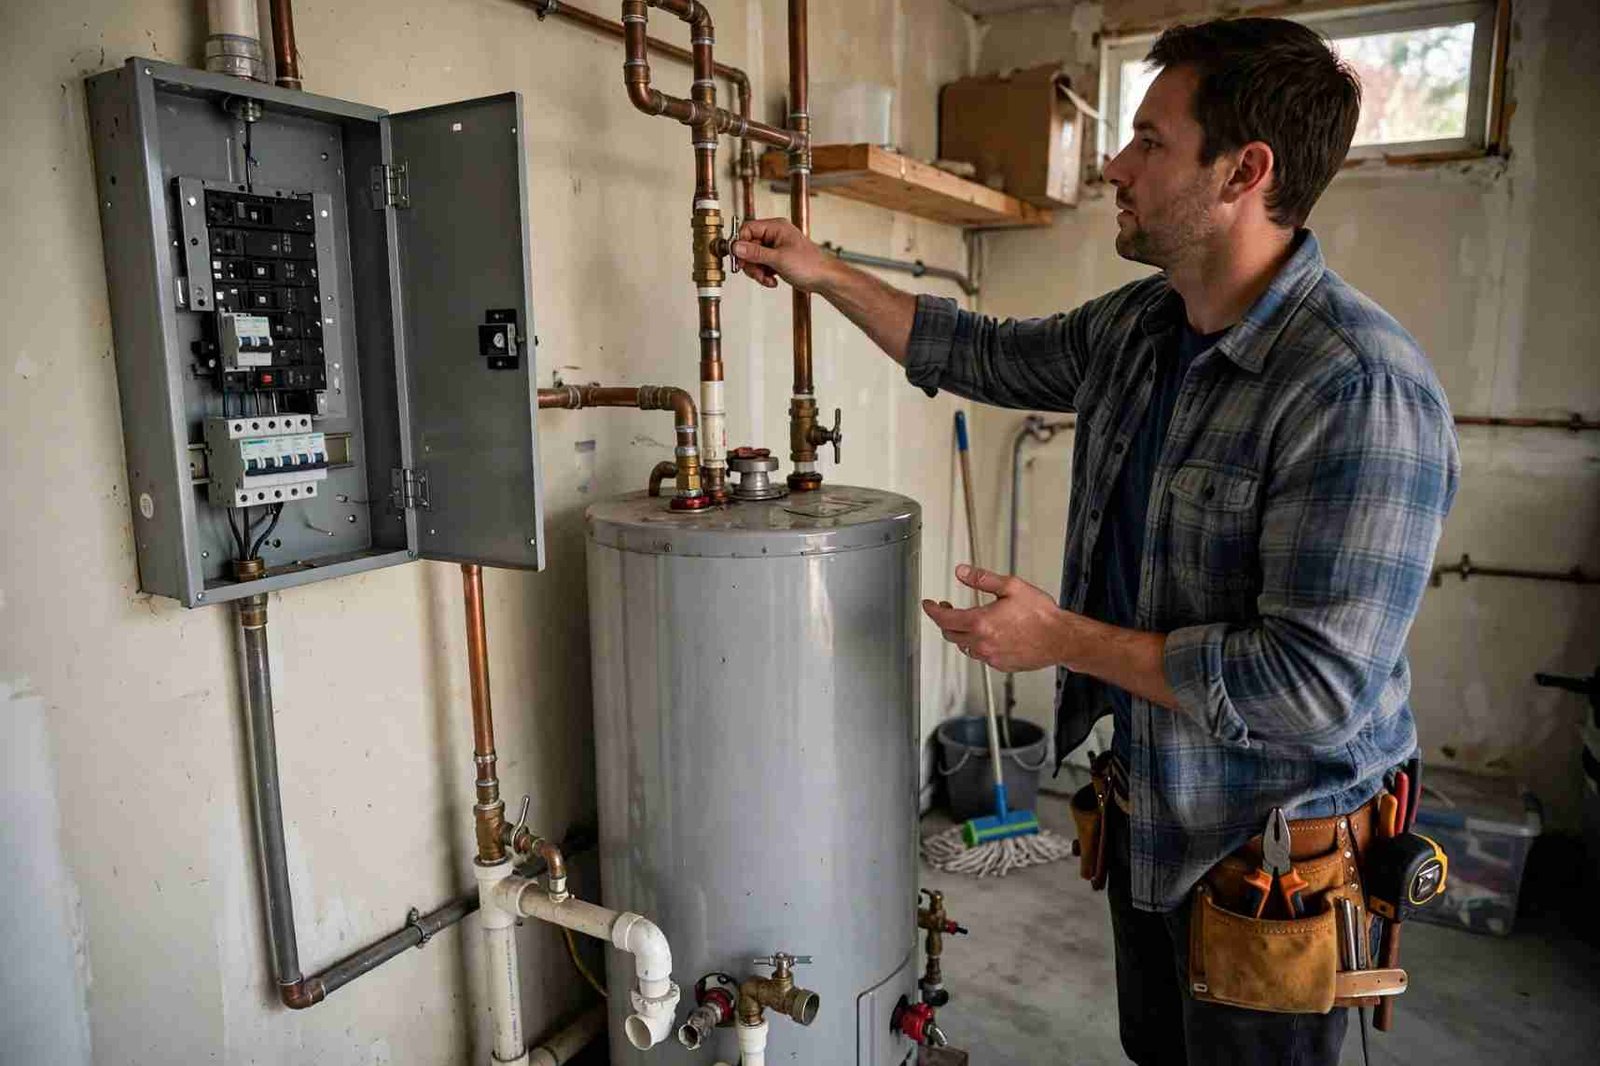
Safety must always come first whenever performing maintenance on high-temperature plumbing equipment. Begin by shutting off the energy supply. For an electric unit, turn off the dedicated circuit breaker at the main electrical panel; running electric elements dry will burn them out within seconds. For a gas unit, turn the thermostat control dial to the pilot or vacation setting. Next, locate the cold water shutoff valve situated on the intake pipe above the tank and turn it clockwise until the flow stops entirely.
Allow the water inside the unit to cool for an hour to reduce burn risks. Locate the drain valve at the bottom exterior of the tank, attach a heavy-duty garden hose to the threaded brass or plastic spigot, and lead the opposite end of the hose outdoors or to a nearby basement floor drain. Ensure the outlet of the hose sits lower than the drain valve so gravity can carry the heavy liquid away.
Executing the Drain and Sediment Flush
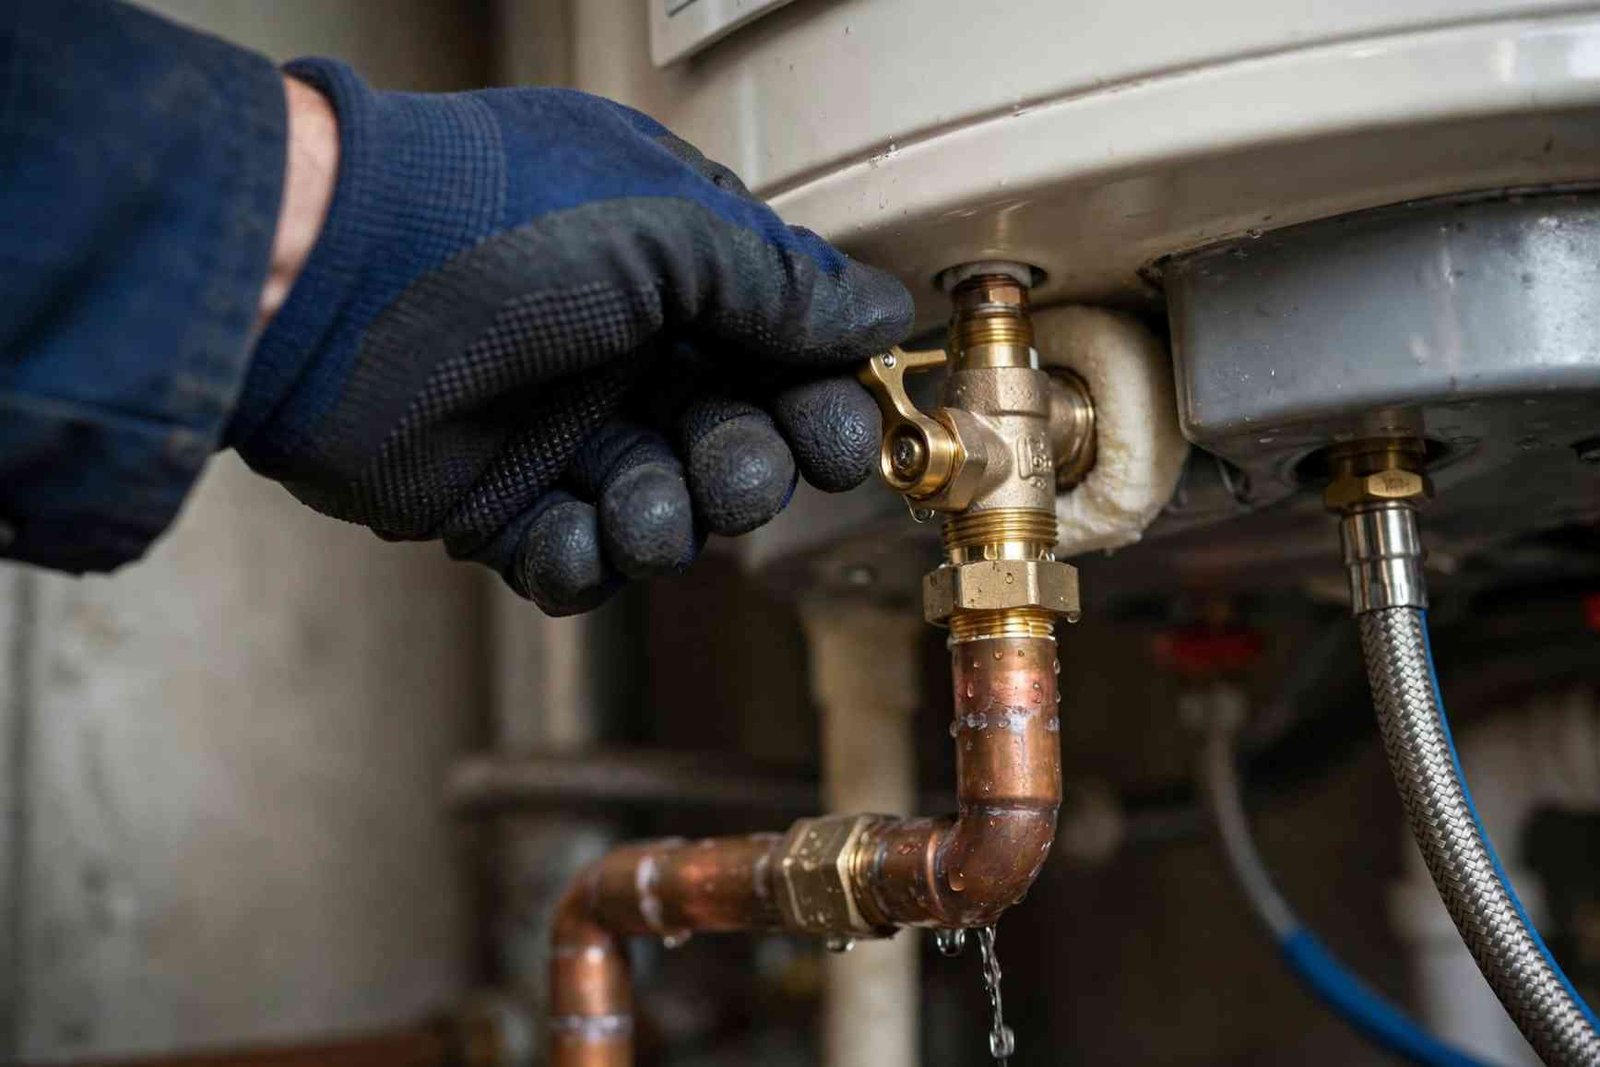
Once the hose is securely fastened, open the drain valve using a flat-head screwdriver or the built-in handle. To break the vacuum inside the closed container and allow water to exit freely, open a hot water faucet on the highest floor of the home or lift the test lever on the temperature and pressure relief valve. Water will begin discharging through the hose.
When the tank empties completely, turn the cold water supply valve on and off in short, thirty-second bursts. This agitation blasts water against the tank floor, breaking up settled calcification and carrying the milky, debris-filled residue out through the hose. Continue this cycling until the expelled water runs crystal clear. When finished, close the drain spigot, remove the hose, allow the vessel to refill completely until water flows steadily from open household faucets, and only then restore the gas or electrical supply.
Inspecting Critical Safety and Protection Components
Beyond flushing sediment, several structural parts require periodic physical inspection to prevent water damage and structural hazards.
When routine inspections reveal persistent leaks, corrosion, or recurring plumbing problems, professional assessment can help determine whether a repair or a more extensive solution is needed. Homeowners can explore expert plumbing services for information about professional support with plumbing issues beyond routine water heater maintenance.
Evaluating the Temperature and Pressure Relief Valve
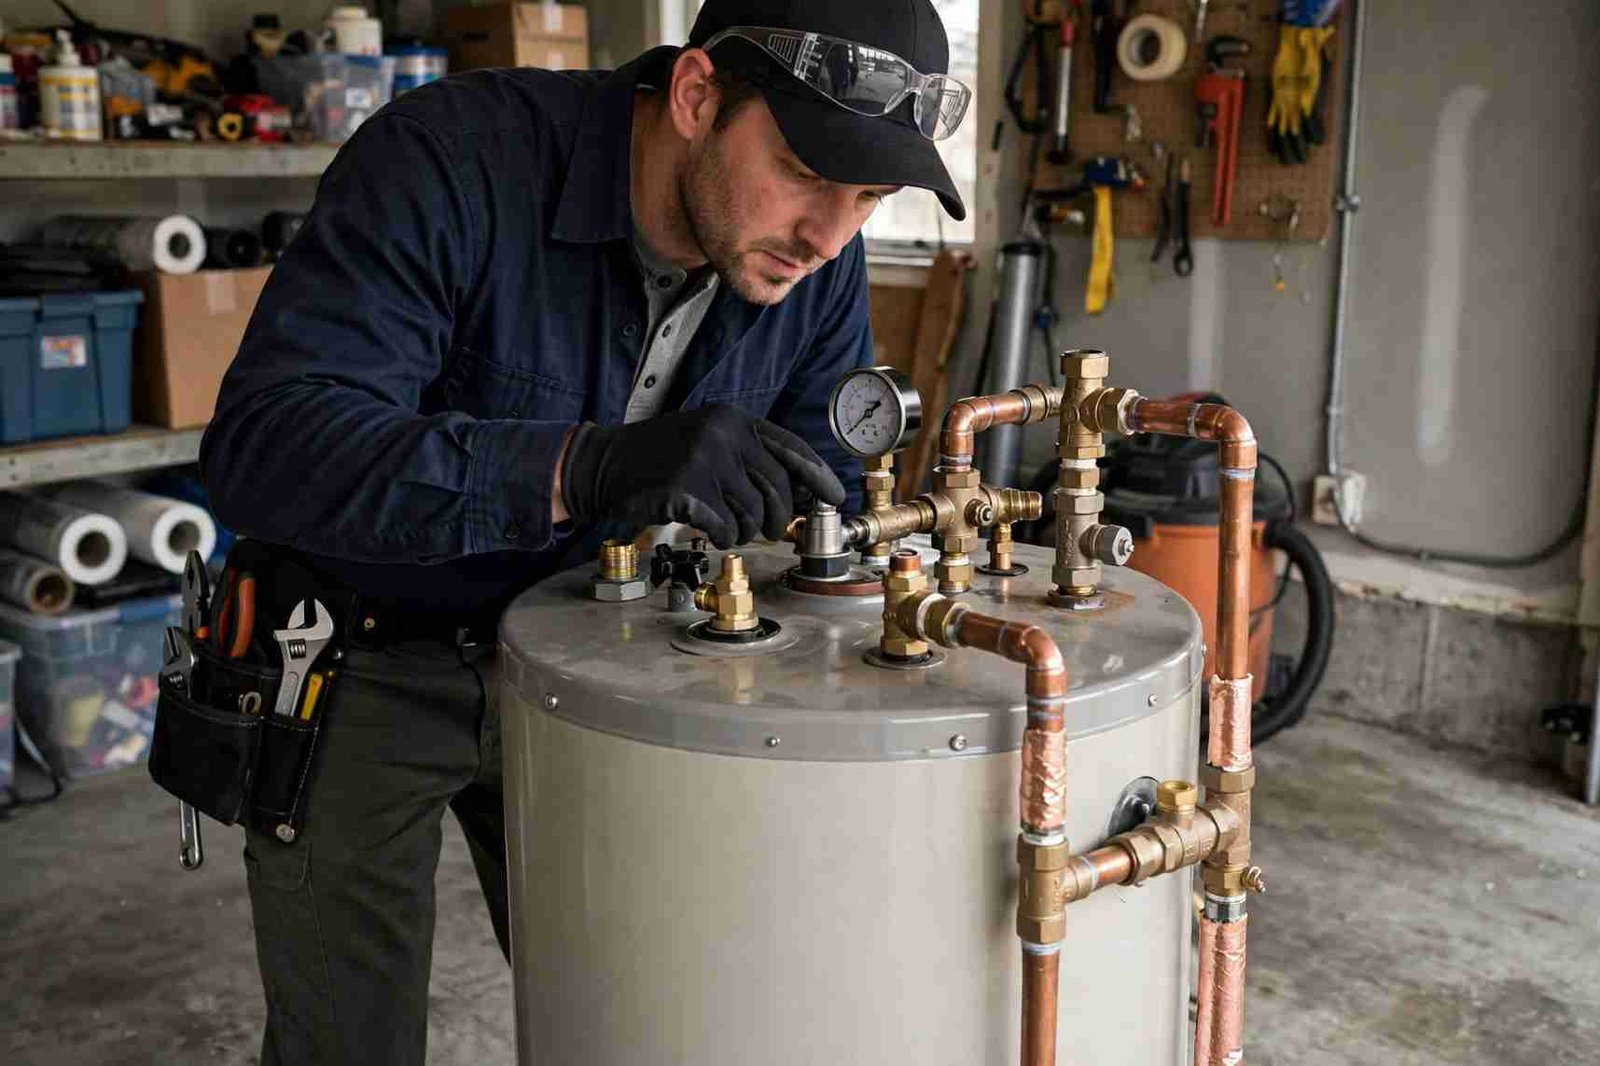
The temperature and pressure relief valve, commonly referred to as the TPR valve, is the primary safeguard against dangerous pressure accumulation. If a heating control fails and causes unchecked boiling, this mechanical valve opens automatically to discharge excess heat and steam through an exterior discharge pipe.
To test this component, gently lift the manual test lever located near the top of the tank. You should hear a distinct rush of water escaping through the drain pipe. Once you release the lever, the spring mechanism should snap back firmly and stop the flow of water instantly. If the valve fails to discharge, drips continuously after testing, or is encrusted with white mineral scale, it must be unscrewed and replaced immediately to prevent pressure-related tank ruptures.
Checking the Sacrificial Anode Rod
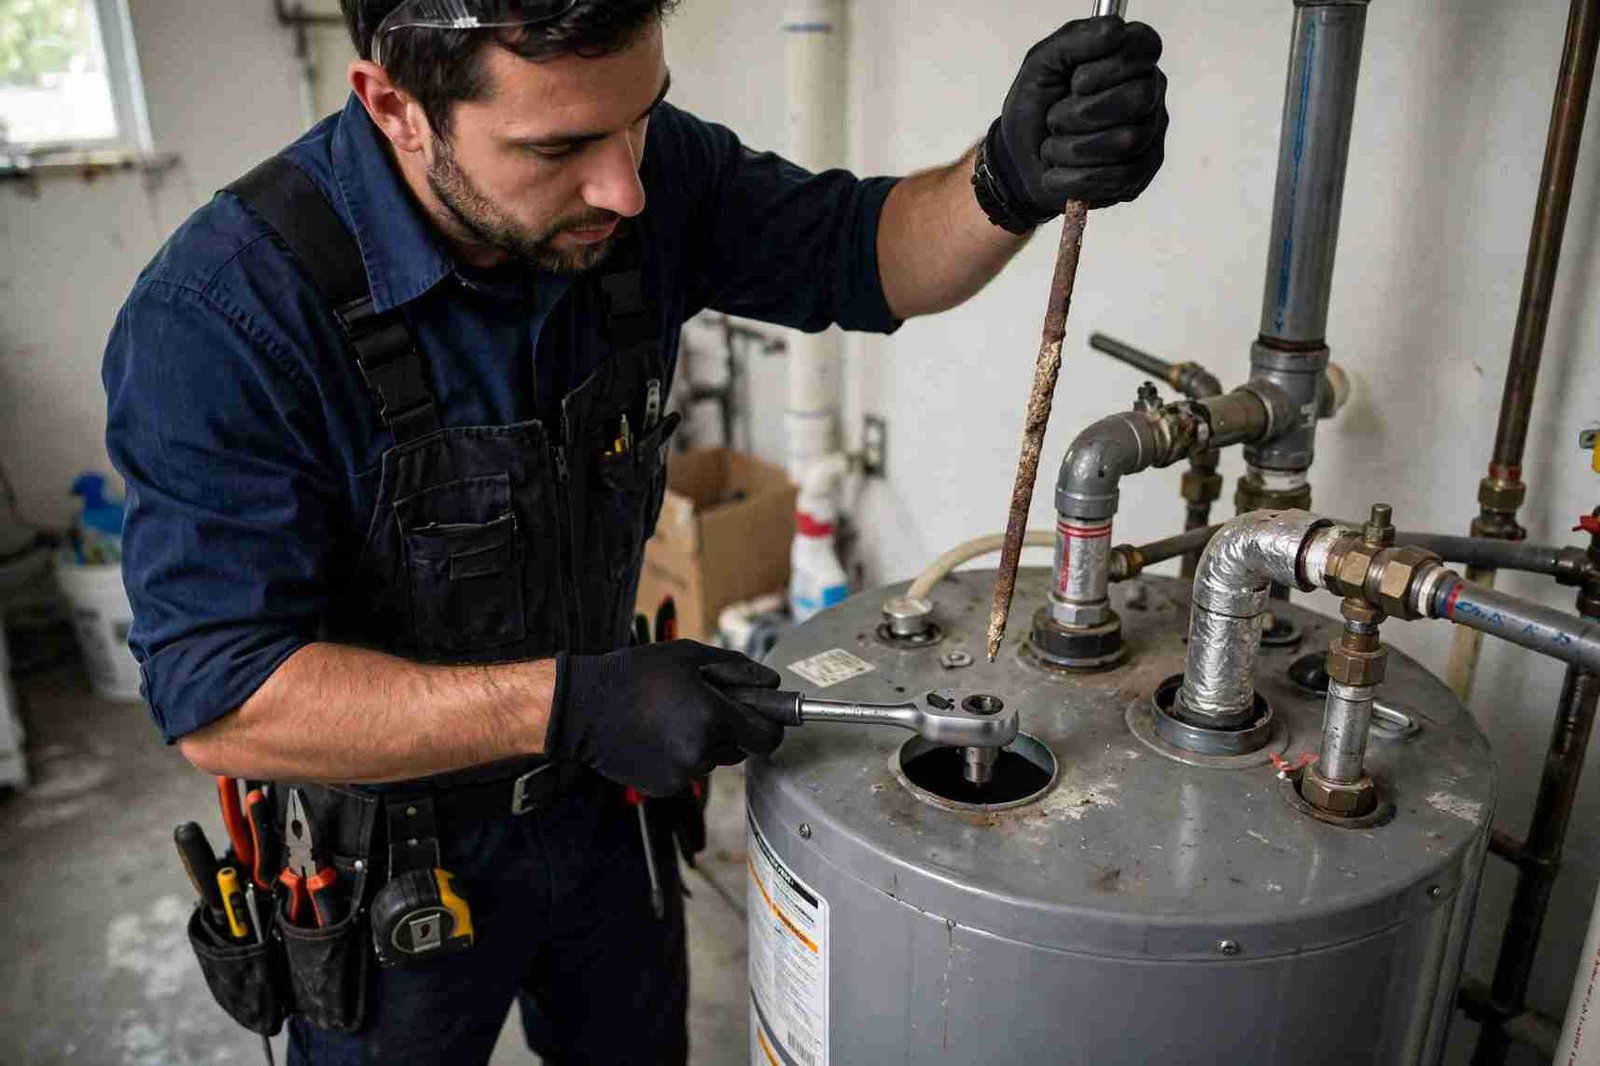
The sacrificial anode rod is an unsung hero of tank longevity. Composed of magnesium or aluminum wrapped around a steel core wire, this rod hangs down through the center of the tank. Because magnesium and aluminum are chemically more active than steel, corrosive elements in the water attack and consume the rod instead of eating away the steel tank walls.
The mineral content of household water can also influence plumbing maintenance needs, particularly in areas with hard water.
Exploring residential water filtration and hard water solutions can help homeowners understand options for addressing water quality concerns that may contribute to mineral scale buildup in plumbing fixtures and water-heating equipment.
Every two to three years, shut off the water, relieve tank pressure, and use a deep socket wrench to unscrew the hex head of the anode rod from the top of the casing. Pull the rod out straight to evaluate its condition. If the rod is coated in a thick, slimy layer of calcium, or if the sacrificial metal has degraded to expose more than six inches of the inner steel wire, install a fresh rod immediately. A spent anode rod leaves the bare steel tank completely unprotected against rust, leading to irreversible leaks within a few years.
Water quality and the characteristics of your property’s supply can also influence plumbing maintenance needs over time.
Understanding how to tell if your property needs a new water source can help homeowners consider whether supply-related issues warrant further investigation alongside routine water heater inspections and corrosion prevention.